The Beginner's Guide To Gain Structure
Note: this post is contributed by professional sound engineer Terry Bledsoe, author of The Beginner's Guide To Live Sound Mixing: Or How Not To Get Fired On Your First Gig
Okay, I know you want to get going and playing with some gear, but let’s get a few basics out of the way. First of all, this is a simple sound wave:

Hertz measures the number of these that happen in one second. The number of Hertz that happen is the Frequency. The more the Hertz, the shorter the waves and are higher pitched frequencies, the lower the number are the low frequencies, that require more power to produce.

The amplitude is how strong the signal is. This is measured in decibels or dB. Too much amplitude and we have distortion, too little and we get noise. When someone speaks into a microphone, the acoustic signal is transformed into an electrical signal that we can now manipulate. How we adjust the amplitude or strength of signal into a sound mixing console is with the Gain knob.
Note that different manufacturers call this different things, but they all achieve the same function. For instance, Yamaha calls theirs the Head Amp on digital consoles. I will be referencing both analogue and digital consoles, but the principals apply to all.
Here is your Gain Knob…

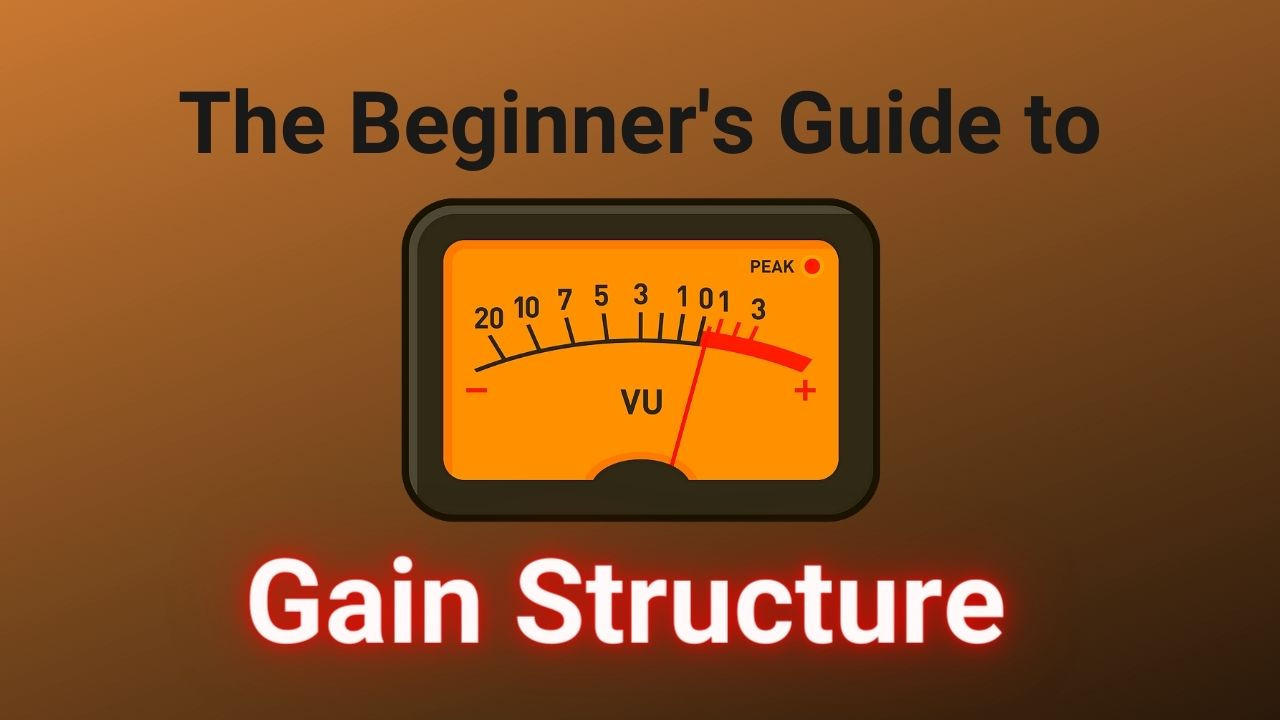
Getting Started with Gain
This is the input to your console and if you don’t get this right, everything else you do after will still sound horrible. Ideally the signal coming into your console is hitting just below the red at it highest point, like when the singer screams. The red on your meter should just barely blink when this happens.

To check this on lower-end consoles, use the PFL button.

PFL is short for, “Pre-Fader Level.” Push this on your channel and your meters will follow. The best way to test this is to literally yell into the microphone. A good and hearty, “Hey!” usually does the job. If you just tickle the red light then you should be good. Now obviously everyone speaks and/or sings at different volumes and the gain knob is where you compensate or reduce input signal. Different consoles have their sweet spot, but I generally like to see my signal averaging around 0 and peaking around +4 to +6 on my input. This should keep you out of trouble. Distortion is cool if you are Jimi Hendrix playing Purple Haze… not so much for someone speaking at a luncheon or a church.
How Gain Works
We now have signal to the Gain knob, but what is it actually doing? The proper name is actually the Preamp, as in it amplifies the electrical signal enough to do something with it. The preamp quality is usually the difference in price of consoles; (I have a running joke when I am showing someone around a console, let’s say a Midas for instance. I spread my arms across the console and say, “You pay $200 dollars for sheet metal and $20,000 for that knob!” pointing at the preamp!) Now think of your gain, (and all signal flow for that matter) as a set of water pipes. You start with a main large pipe and this gets distributed to other smaller pipes. If there is too much pressure in the pipe, it breaks, (distortion). If there is too little pressure then air is present and your sink is just a trickle. In sound this is called a noise floor. All you are doing is making air or electrical current louder, not the audio signal. Hence trying to average the input signal around 0db with your gain.
Now everything I have just told you is done with ALL FADERS DOWN!

First of all, you don’t want to scare anyone else in the room when you set your gains and secondly, you can really do some damage to the gear if you don’t get it right. The safest way is to have all faders and gain knobs all the way down and slowly increase the gain until you are happy. Then it is safe to SLOWLY bring faders up to actually hear what you have just monitored with your meters.
Next up after the preamp is the dynamics section, (compressors and gates) on your better analogue, (and almost all) digital consoles.

You always want to compress or gate your signal immediately after the gain, as it will affect your signal later on down the road. Cheaper consoles will not even have this option.
The next two features are interchangeable depending on the console you are on, the Aux sends and EQ sections.
Some consoles route the signal to the EQ first then the Auxes, some go to Aux first then, EQ, and finally, larger consoles, (and software) give you the choice. In certain applications you desire the aux send to be pre-EQ, some post. Don’t be scared, this section is regarding gain structure, future articles will deal with signal routing and their applications.
Faders & Groups
After you have done all the funky stuff to your signal on your channel, this is the volume control. This controls no other volumes, (or Amplitudes) other than it’s designated channel. For instance, say Channel 1 on your mixer is the Kick Drum and Channel 2 is the Snare. Your first fader only controls the Kick Drum volume and the second fader only controls the Snare volume, etc. This is how you adjust individual volumes while you are mixing.

These faders send your channels’ signal to either Groups or to your stereo mix. Most consoles give you options in this decision. Why would you want to send to Groups before I go to the main mix? I’m glad you asked!
Think of Groups as a master volume for a select group of channels before you get to the Master. For example, say you want all the drums on Group 1. Once you get the kick, snare, etc. at all the right levels, you can send these to Group 1 and now you have a master volume for the whole drum kit alone. If the drummer is laying back on a ballad you can boost the whole kit at once on the Group fader and not mess with the nice mix you had at sound check. The group now sends the signal to the Master volume. If your console has groups there will be assign buttons on each channel to tell it to go to that group. Here is a picture of a small mixer with only two groups. When you press this button, Ta Da, you have sent to the group fader. The signal will now have a volume control of whatever you send to this before the Master fader.

VCAs
VCAs are basically the same thing as Groups except for one major difference in that they eliminate a gain stage. What voodoo is this? VCA stands for Voltage Control Amplifier, which harkens back to the olden days of analogue consoles. Digital consoles do the same thing except it is software-based now, but the terminology is so ingrained in the audio community that they stuck with it. (Some manufacturers refer to these as DCAs or Digital Control Amplifier. For the purposes of this post we will stick with the VCA terminology.)

When you assign channels to a VCA, (for the same reasons as you assign to groups) the VCA fader actually controls the channel faders. The channel signal goes directly to the Master, but the VCA controls the individual channel faders. That is all.
I am partial to VCAs instead of groups as that is one less gain stage I have to worry about. Each channel will have a VCA select to tell it which one is boss, provided your console has this feature. Notice the names above each of the VCA channels in the previous picture… you can now mix the entire band off of these faders after you get the basic mix solid.
Master Volume
Last but not least is the Master Volume. This may be called Master or simply labeled as STEREO or ST. This is appropriately named, as in it is the last section before the electrical signal is sent to the amplifiers. This is the main volume of your whole system, whether you have a simple stereo set up in the back yard, or are sending to multiple places in Madison Square Garden. As Stan Lee always said, “Nuff said.”
Speaking of sending to multiple places, this is where the Matrix section of a console comes in. This is after the Master in your Gain Stage. When you send your Master Volume to different Matrixes, you can adjust the levels of the individual speaker sets to the desired levels and your Master still controls the overall volume of the system.
The following photos show a Matrix layout of a church that I mix. The room is odd shaped and I have a Main Left, Center, Main Right for my main Speakers. In addition, I have some Outfills, (to fill in some of the gaps on the extreme edges of the audience), a VIP area, Lobby, a Streaming send and finally a Studio send, (for recording and if we have any press). I need the same Master Mix going to everywhere, but as you can see, I need different levels going to different places. Behold the magic of Matrices!

Matrices are the pressure valves for the entire system!
The Last Gain Stage
After the Master Fader/Matrixes your last Gain Stage is to your processing and amplifiers. This is the last link in the chain, but all the same principles apply.
You get the idea by now, too much gain = distortion, too little gain = noise.
There are entire white papers and the like on processing for speakers, and feel free to look them up, but for our purposes processing is the final fine brush on what signal is sent to the amplifiers. This is the final gain for lows, mids, highs and phase in your speaker. These vary from simple crossovers to full-blown crazy processing! I prefer to run all my amps wide open and take care of the balance at my processing. This way I know I have at least one constant in my final signal that the audience is going to hear.
Conclusion
Understanding how to properly set your gain structure will pay off with faster soundchecks, better sounding mixes, and optimized audio signal levels throughout your sound system.
Spend some time experimenting with your audio levels and gain structure to create a workflow that is effective and predictable for you and your team.
Resources
Looking for an easy place to start when it comes to setting gain on your mixing console? Download and follow this simple guide to set the perfect levels for your inputs every time you mix.
This post is an excerpt from Terry’s book The Beginner’s Guide to Live Sound Mixing. You can check out the book on Amazon, available for Kindle and in paperback.
Terry Bledsoe is a Sound Engineer and Production Manager with over 30 years of experience. He has given seminars on live sound in many of the top hotels in Las Vegas and throughout the United States. With disciplines ranging from live sound, recording, film and television, he is now authoring how-to books on the practice and principals of sound.
Please note that some of the links and discount codes included throughout this website are affiliate links and Great Church Sound and/or James Wasem will earn a commission if you decide to make a purchase. This is at no additional cost to you.
These are tools I personally have used or recommend because they are helpful and useful, not because of the commissions made if you decide to buy something.
Affiliate earnings and commissions help keep this site active and populated with fresh content. If you decide to purchase something through these links, I would like to say Thank You!
Author

James Wasem
Author
Audio Geek, Drummer, Pilot, Author, and someday I'll learn to play the hurdy-gurdy!
Stay connected with the latest tips and updates from Great Church Sound!
Great Deals for Great Sound
Some of the resources on this page are from select partners that are passionate about helping you deliver great church sound.
(Read the Sponsor & Affiliate Disclosure here.)


